Day 2 - The missing parts
So in the beginning of this week I got Rally Raid to UPS over the missing parts which arrived conveniently on Friday night. The missing parts was the headlight and the fuel pump socket that connects the new tanks with the existing one.

In order to pull out the fuel pump I needed to empty the tank. People complaining it is hard but with a siphoning pump plus a 30 cm extension duct taped on to the bottom on the straight part, to reach the bottom of the tank, it all went fine.

I simply used som fuel first to clean the new tanks and then filled them up from the main rear tank.

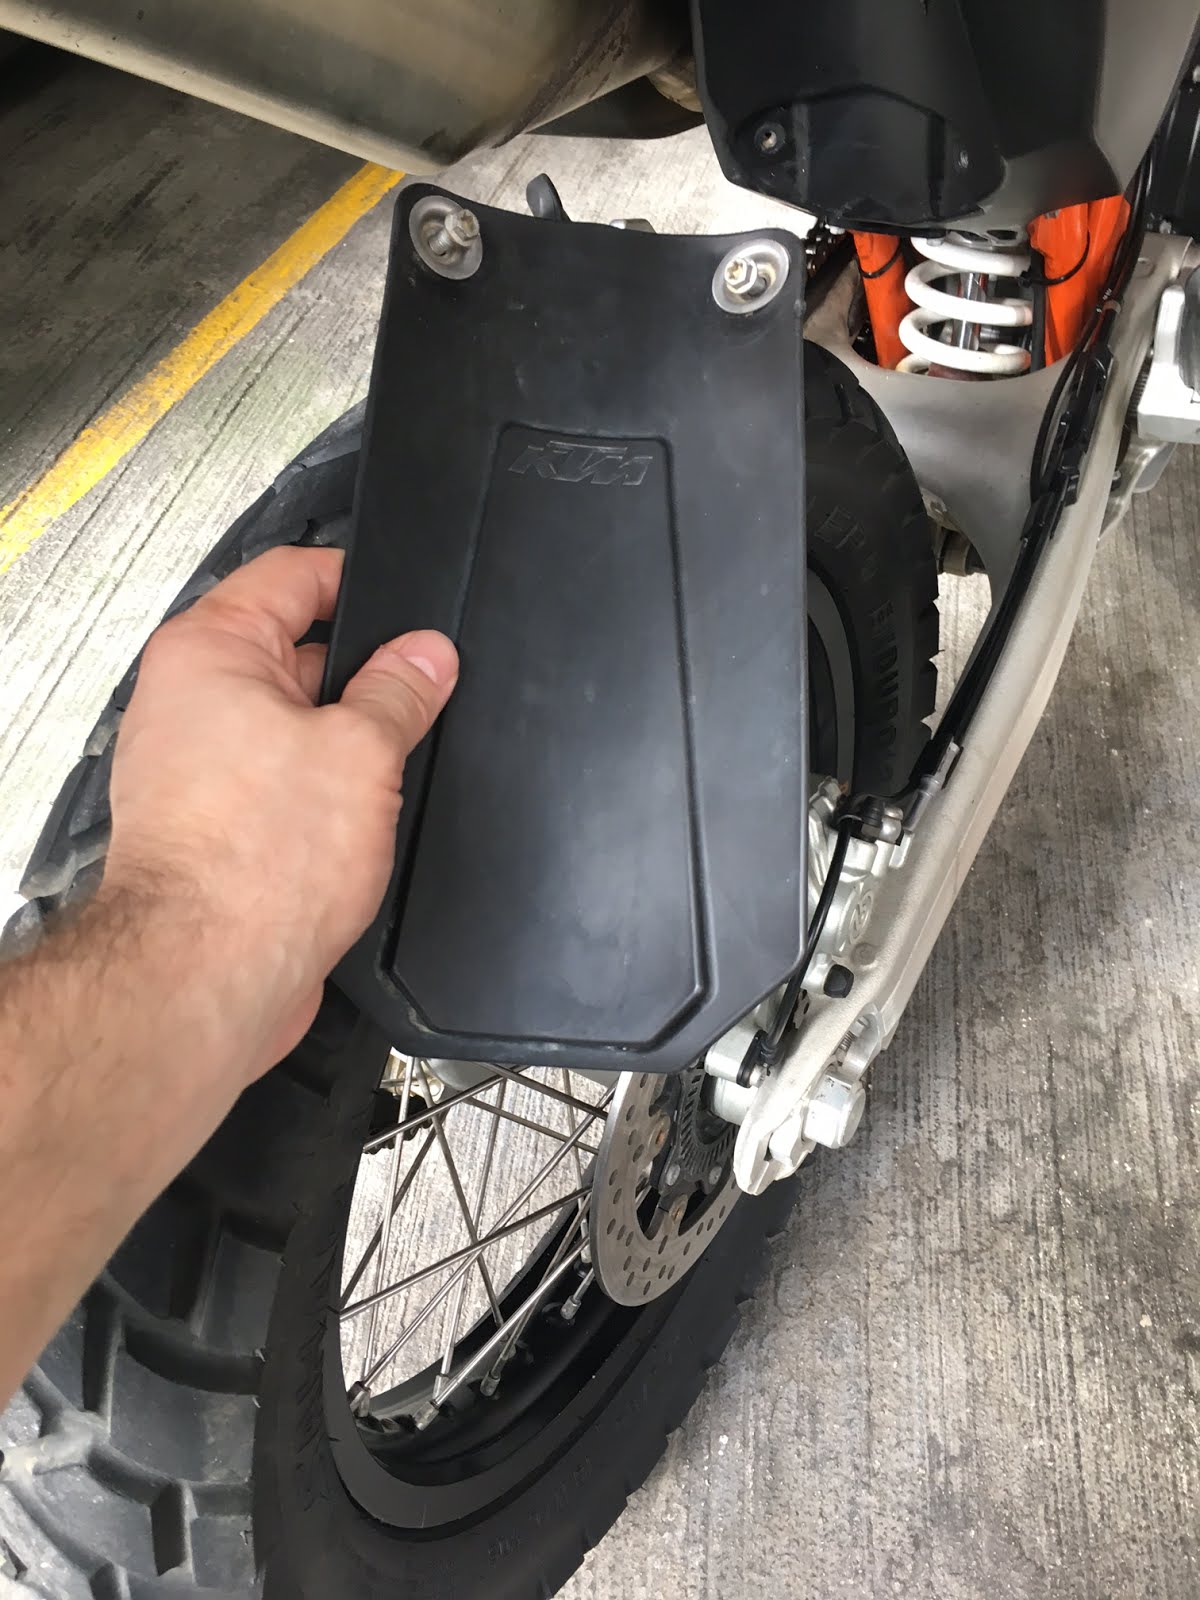
To get to the fuel pump the rear mud flap needs to be taken off.
And the fuel pump can be pulled out

The cover clips loose easily with a pin on each side.

To feed fuel out you need to drill 4mm two holes, one thru the new openeing where the banjo bolt goes and one 10mm above the metal socket.

It all fits snuggly in place afterwards.

To mount the fuel lines you first put some holders with rubber rings on in the center of the bikes to hold the hoses.

Then feed the hose from the backside to the front.

All secured up with clips.

This is the front tank fuel valves for cut off.

I zip tied the rear hose to the frame since I found it a bit loose.

The side plates covering the remaining holes goes on.

No on to the front. After removing the head light there is a lot of cables zip tied behind. I cut all zip ties and removed the plastic to expose the frame.

With it this clean and nice it is time to attached the dash board.

The dashboard frame connects to the radiator and just in front of the ignition key.

In order to fit it you have to modify the lock.

You can unscrew it and take it apart to fit the longer locking bolt.

The reason we need the longer bolt is of this back plate that holds the dashboard frame.

This is where the air sensor goes.

It starting to look a bit more tidy with the speedo refitted.

Under side view of dashboard.

Finished for the day with the front headlight mask fitted.


.jpeg)
Nice to see the progress and the informative step by step instructions. 👍
ReplyDelete